

I posted about this bathroom renovation project on November 10th. With Thanksgiving in-between, kids home from college and the holidays looming… I got this past the finish line just in time for Christmas!
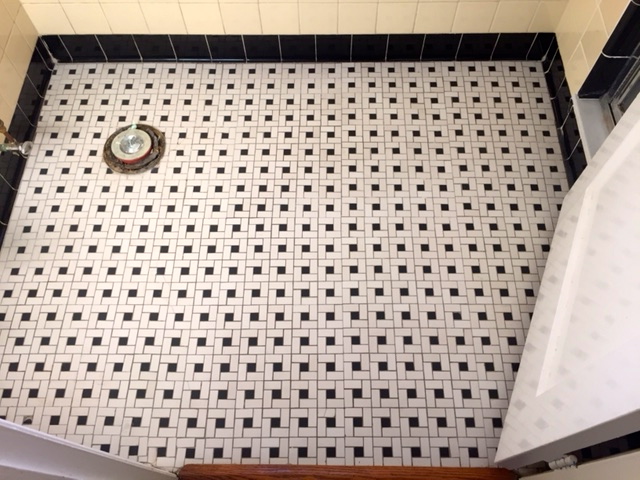
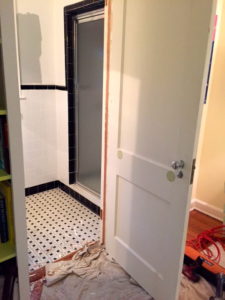
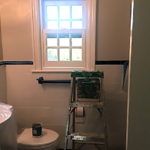
Where we left off: the old sink and toilet were removed. Tasso marble floor cleaned, patched and sealed. Note that the door opens into the bathroom here. Reminder, total bathroom size is 4′ x 8′ including stall shower.
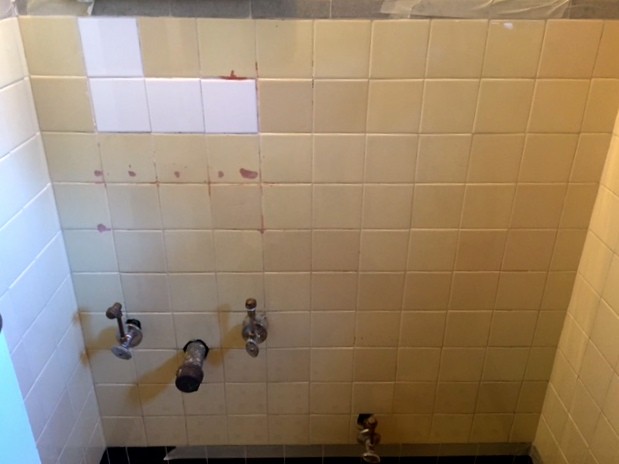
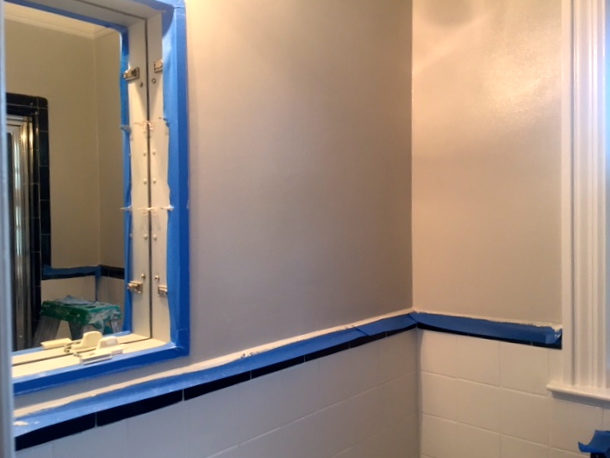
I decided to glaze the bathroom tiles white and save all of the original black tile detail. I did get rid of the old toothbrush holder and soap dish above the sink. See new white tiles to replace them (above).
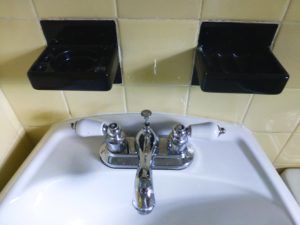
The way it used to look.
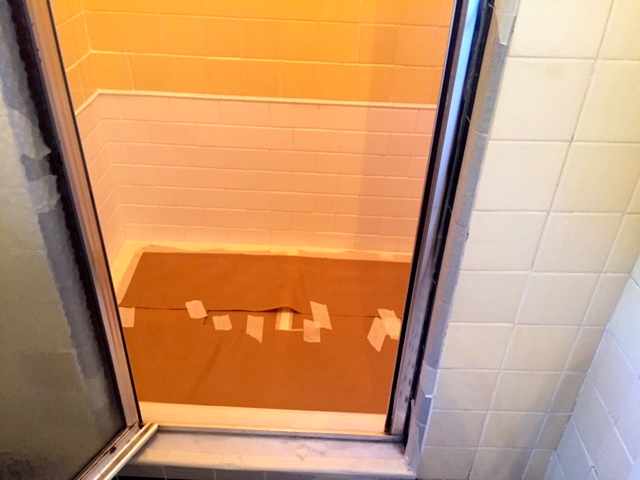
Shower tiles getting ready to be glazed. I replaced the shower floor a few years ago with Carrara marble, so paper was put down to protect it.
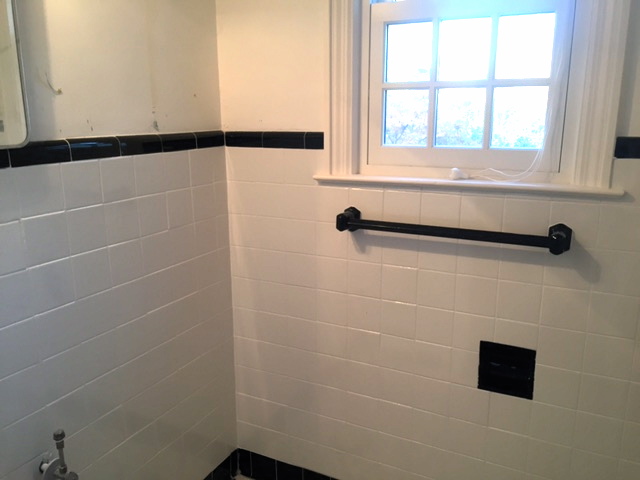
Look how fresh the bathroom looks with white tile! I love the original black detail as a contrast.
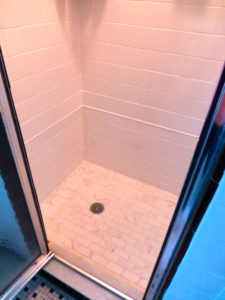
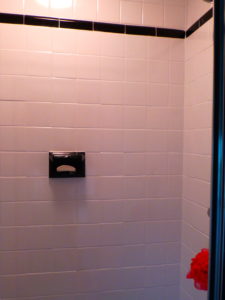
Even makes the shower feel bigger.
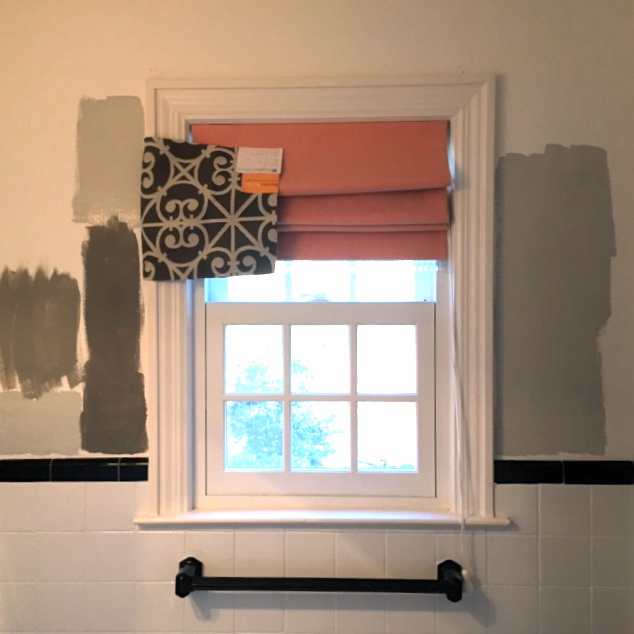
I was fixated on using gray in this bathroom, so I painted a few colors on the wall to see what I liked. I knew I was using this Duralee fabric in “smoke” for the new roman shade. Already leaning toward the lightest one, Benjamin Moore Stonington Gray #HC-170.
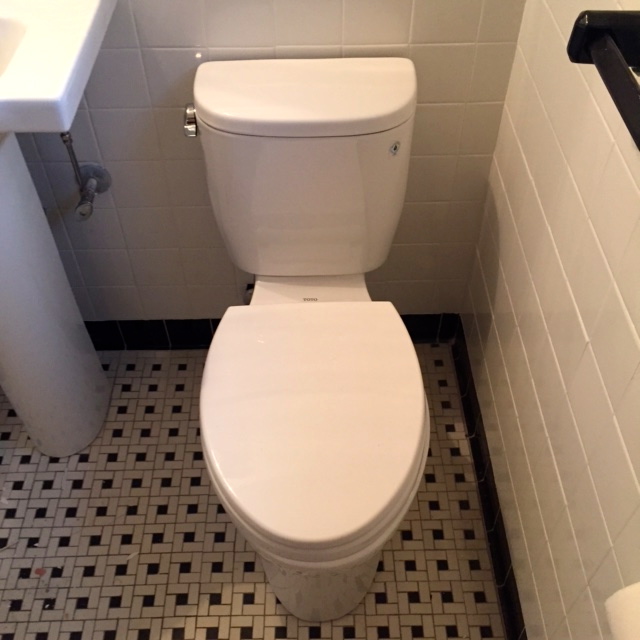
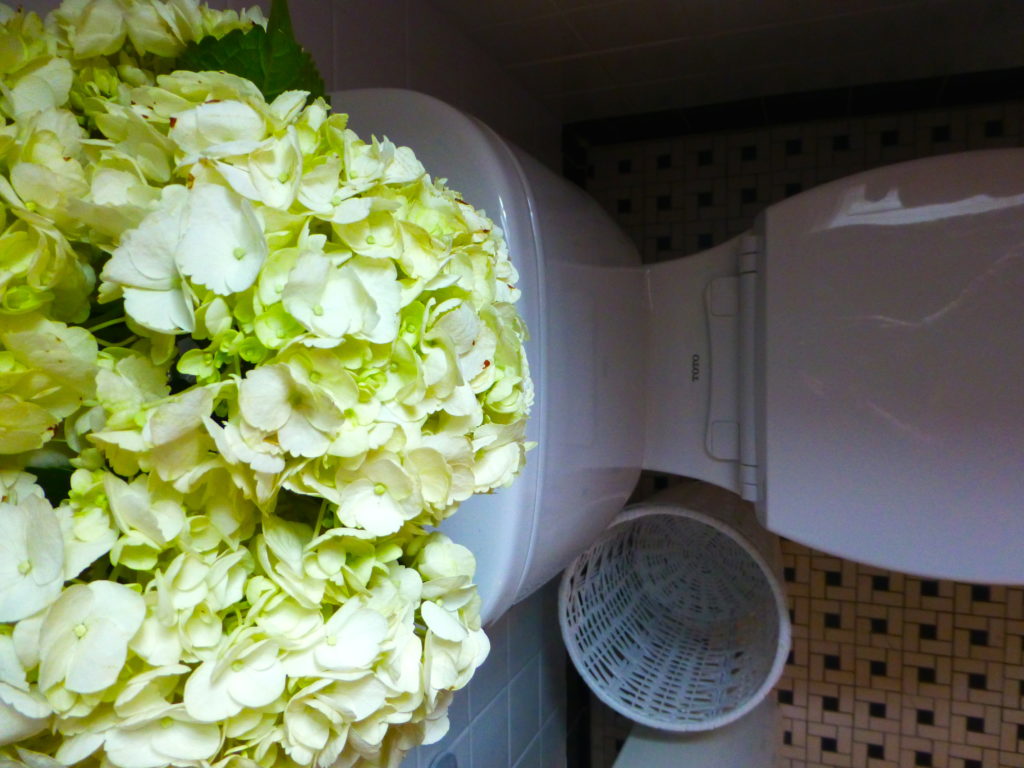
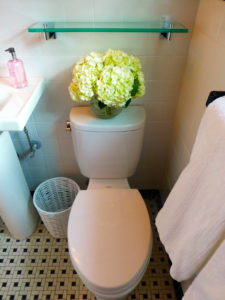
New toilet installed, a Toto Entrada. The tank on this model is very small, allowing for more space in a small room.
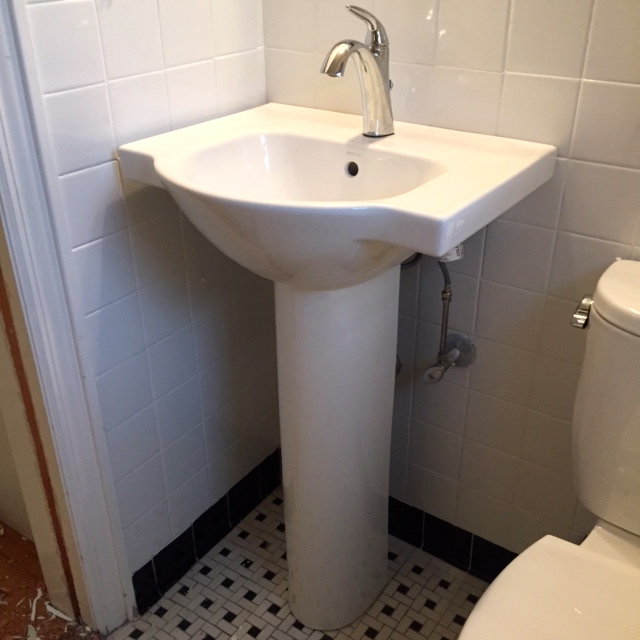
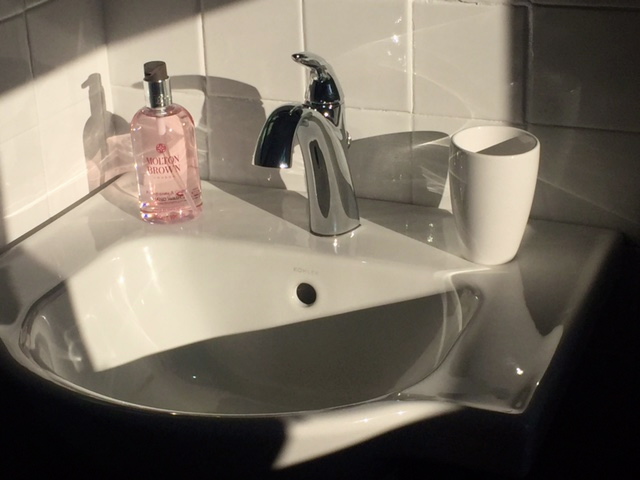
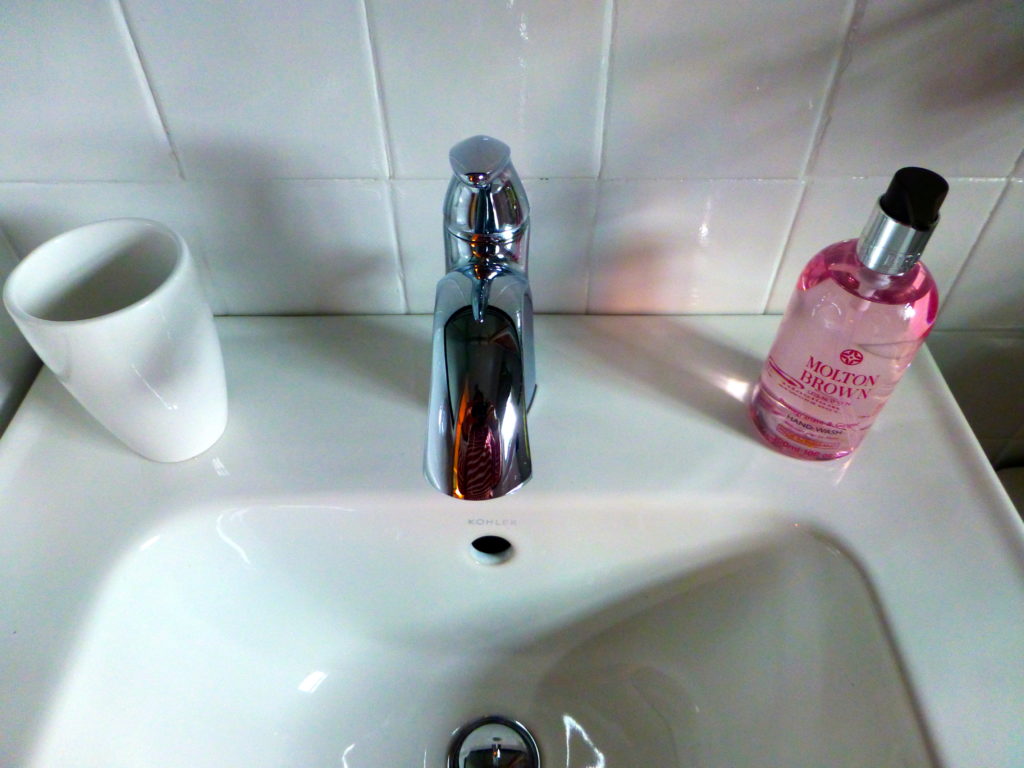
New pedestal sink by Kohler with a single control Kohler Alteo chrome faucet. A single control allows for more room around the sink for the user. I have very limited space in this corner too, which is why I went with a 21″ wide pedestal sink vs. a vanity.
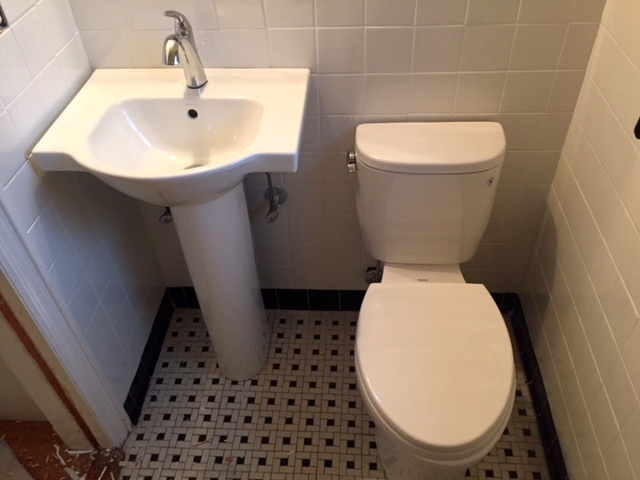
New sink and toilet! Look how small this space is, barely room for a wastebasket between the two.
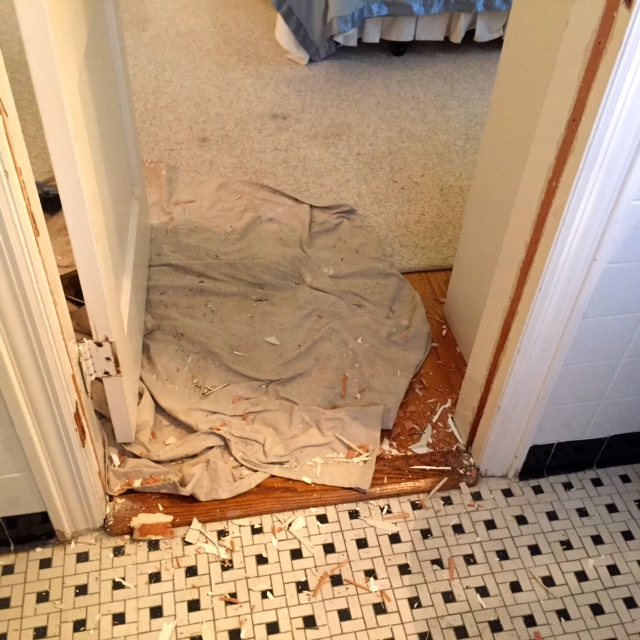
The next piece, switching the door so it opens into the bedroom vs. into the bathroom. When the door opened into this tiny bathroom, it took up a ton of space!
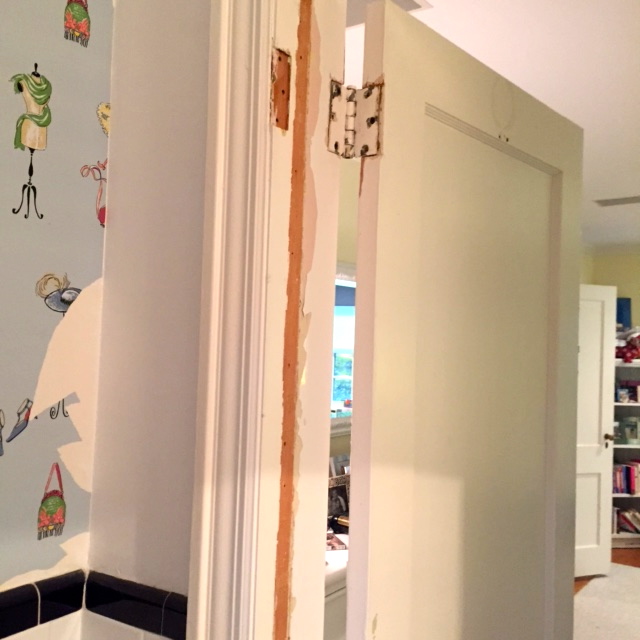
Already roomier. Still have to peel off the rest of that hideous wallpaper.
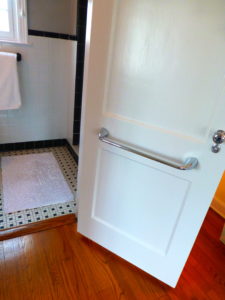
Door reversed. New door hardware installed on the right. Bathroom seems more spacious now.
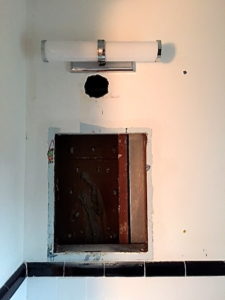
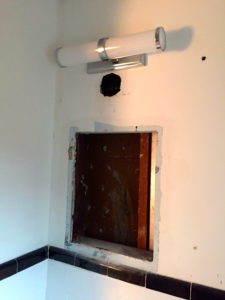
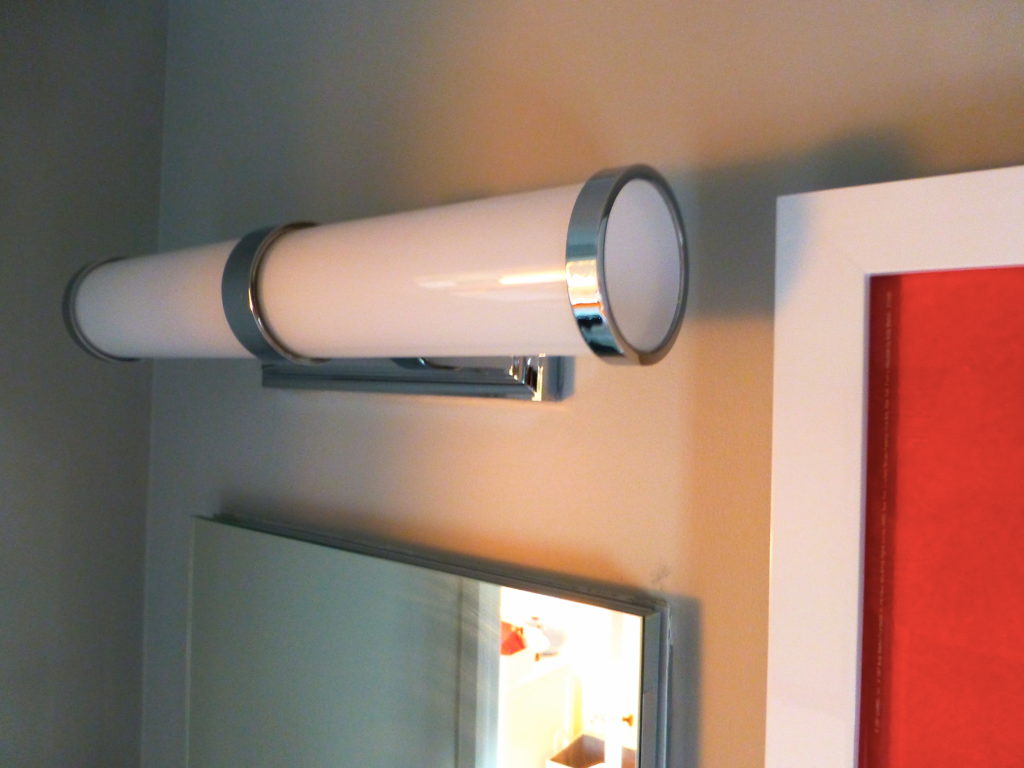
I removed the old medicine cabinet and installed a new sconce on a dimmer. There is only one light in this bathroom (one in the shower too), so I wanted the ability to have two 60 watt bulbs instead of a single bulb. The horizontal style also allows space for the new frameless medicine cabinet that is taller.
Sneak preview!
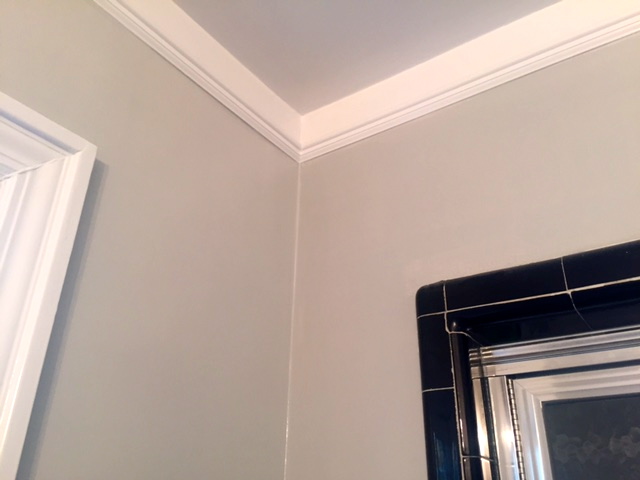
I did end up choosing Benjamin Moore Stonington Gray for the walls. I used Decorator’s White for the trim and ceiling.
New medicine cabinet going in.
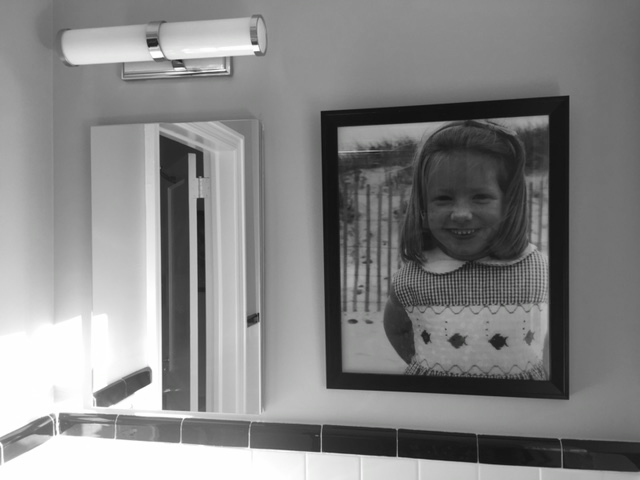
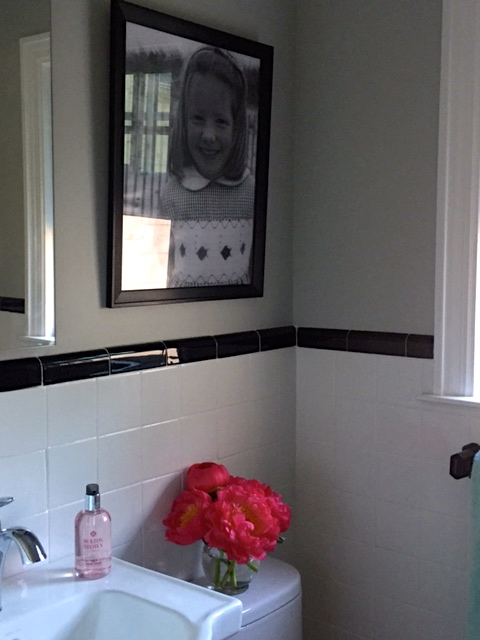
I am almost done, but still figuring out artwork (Emily does not want that picture of her in here!) and the roman shade is taking longer than I had hoped.
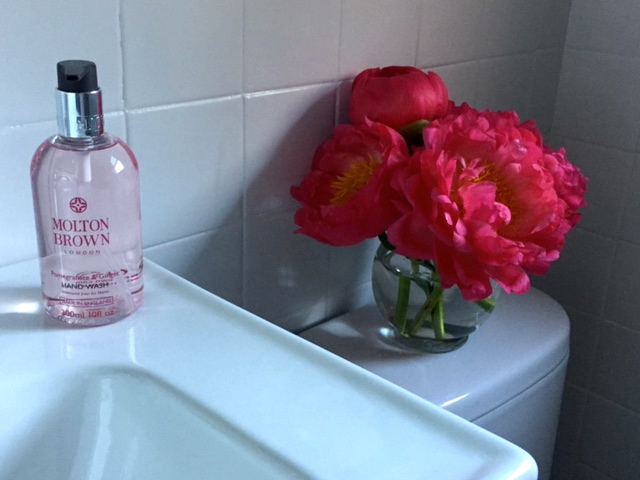
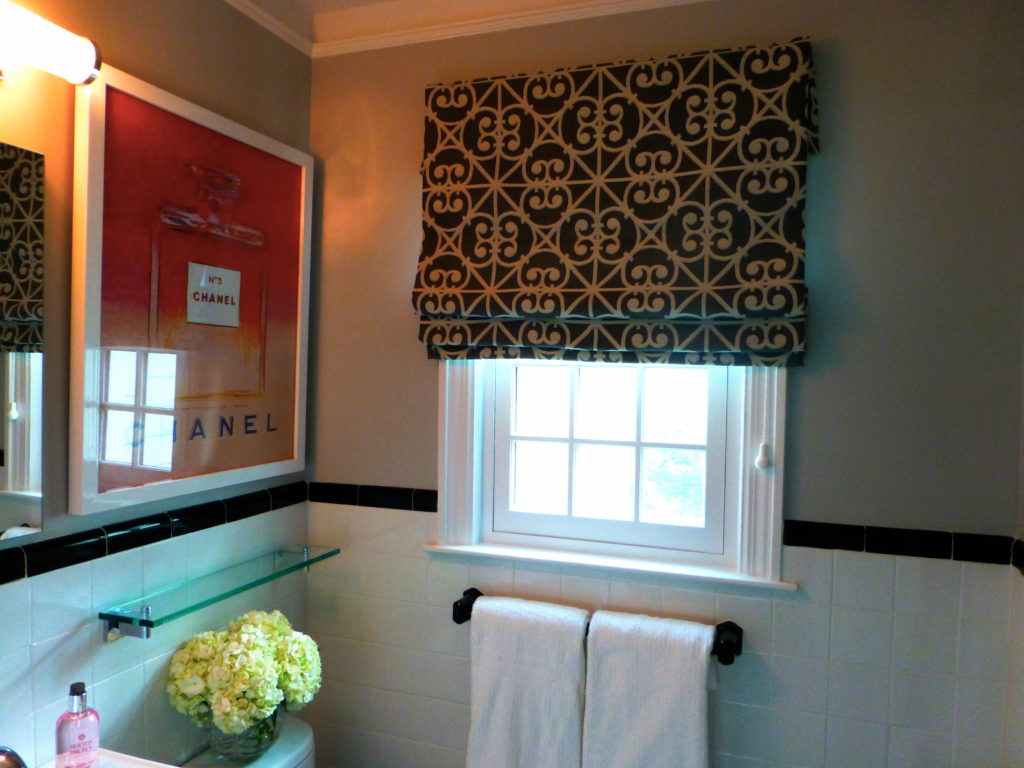
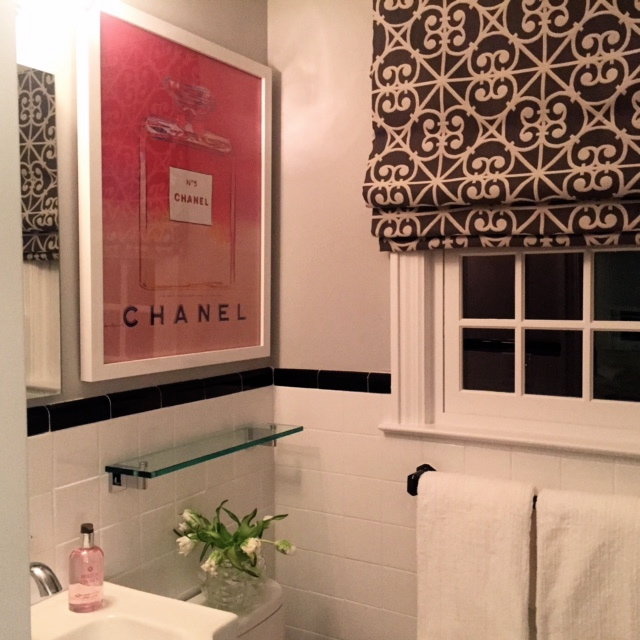
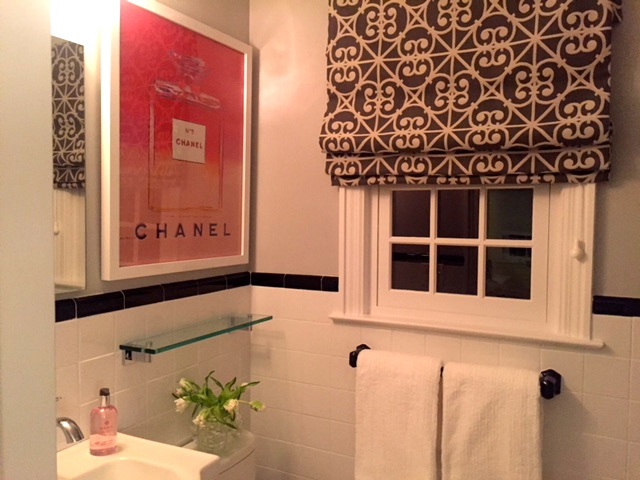
So happy with the gray, white and black combination! Trying to find a piece of art to bring a pop of color in here. Loving pink in this room…
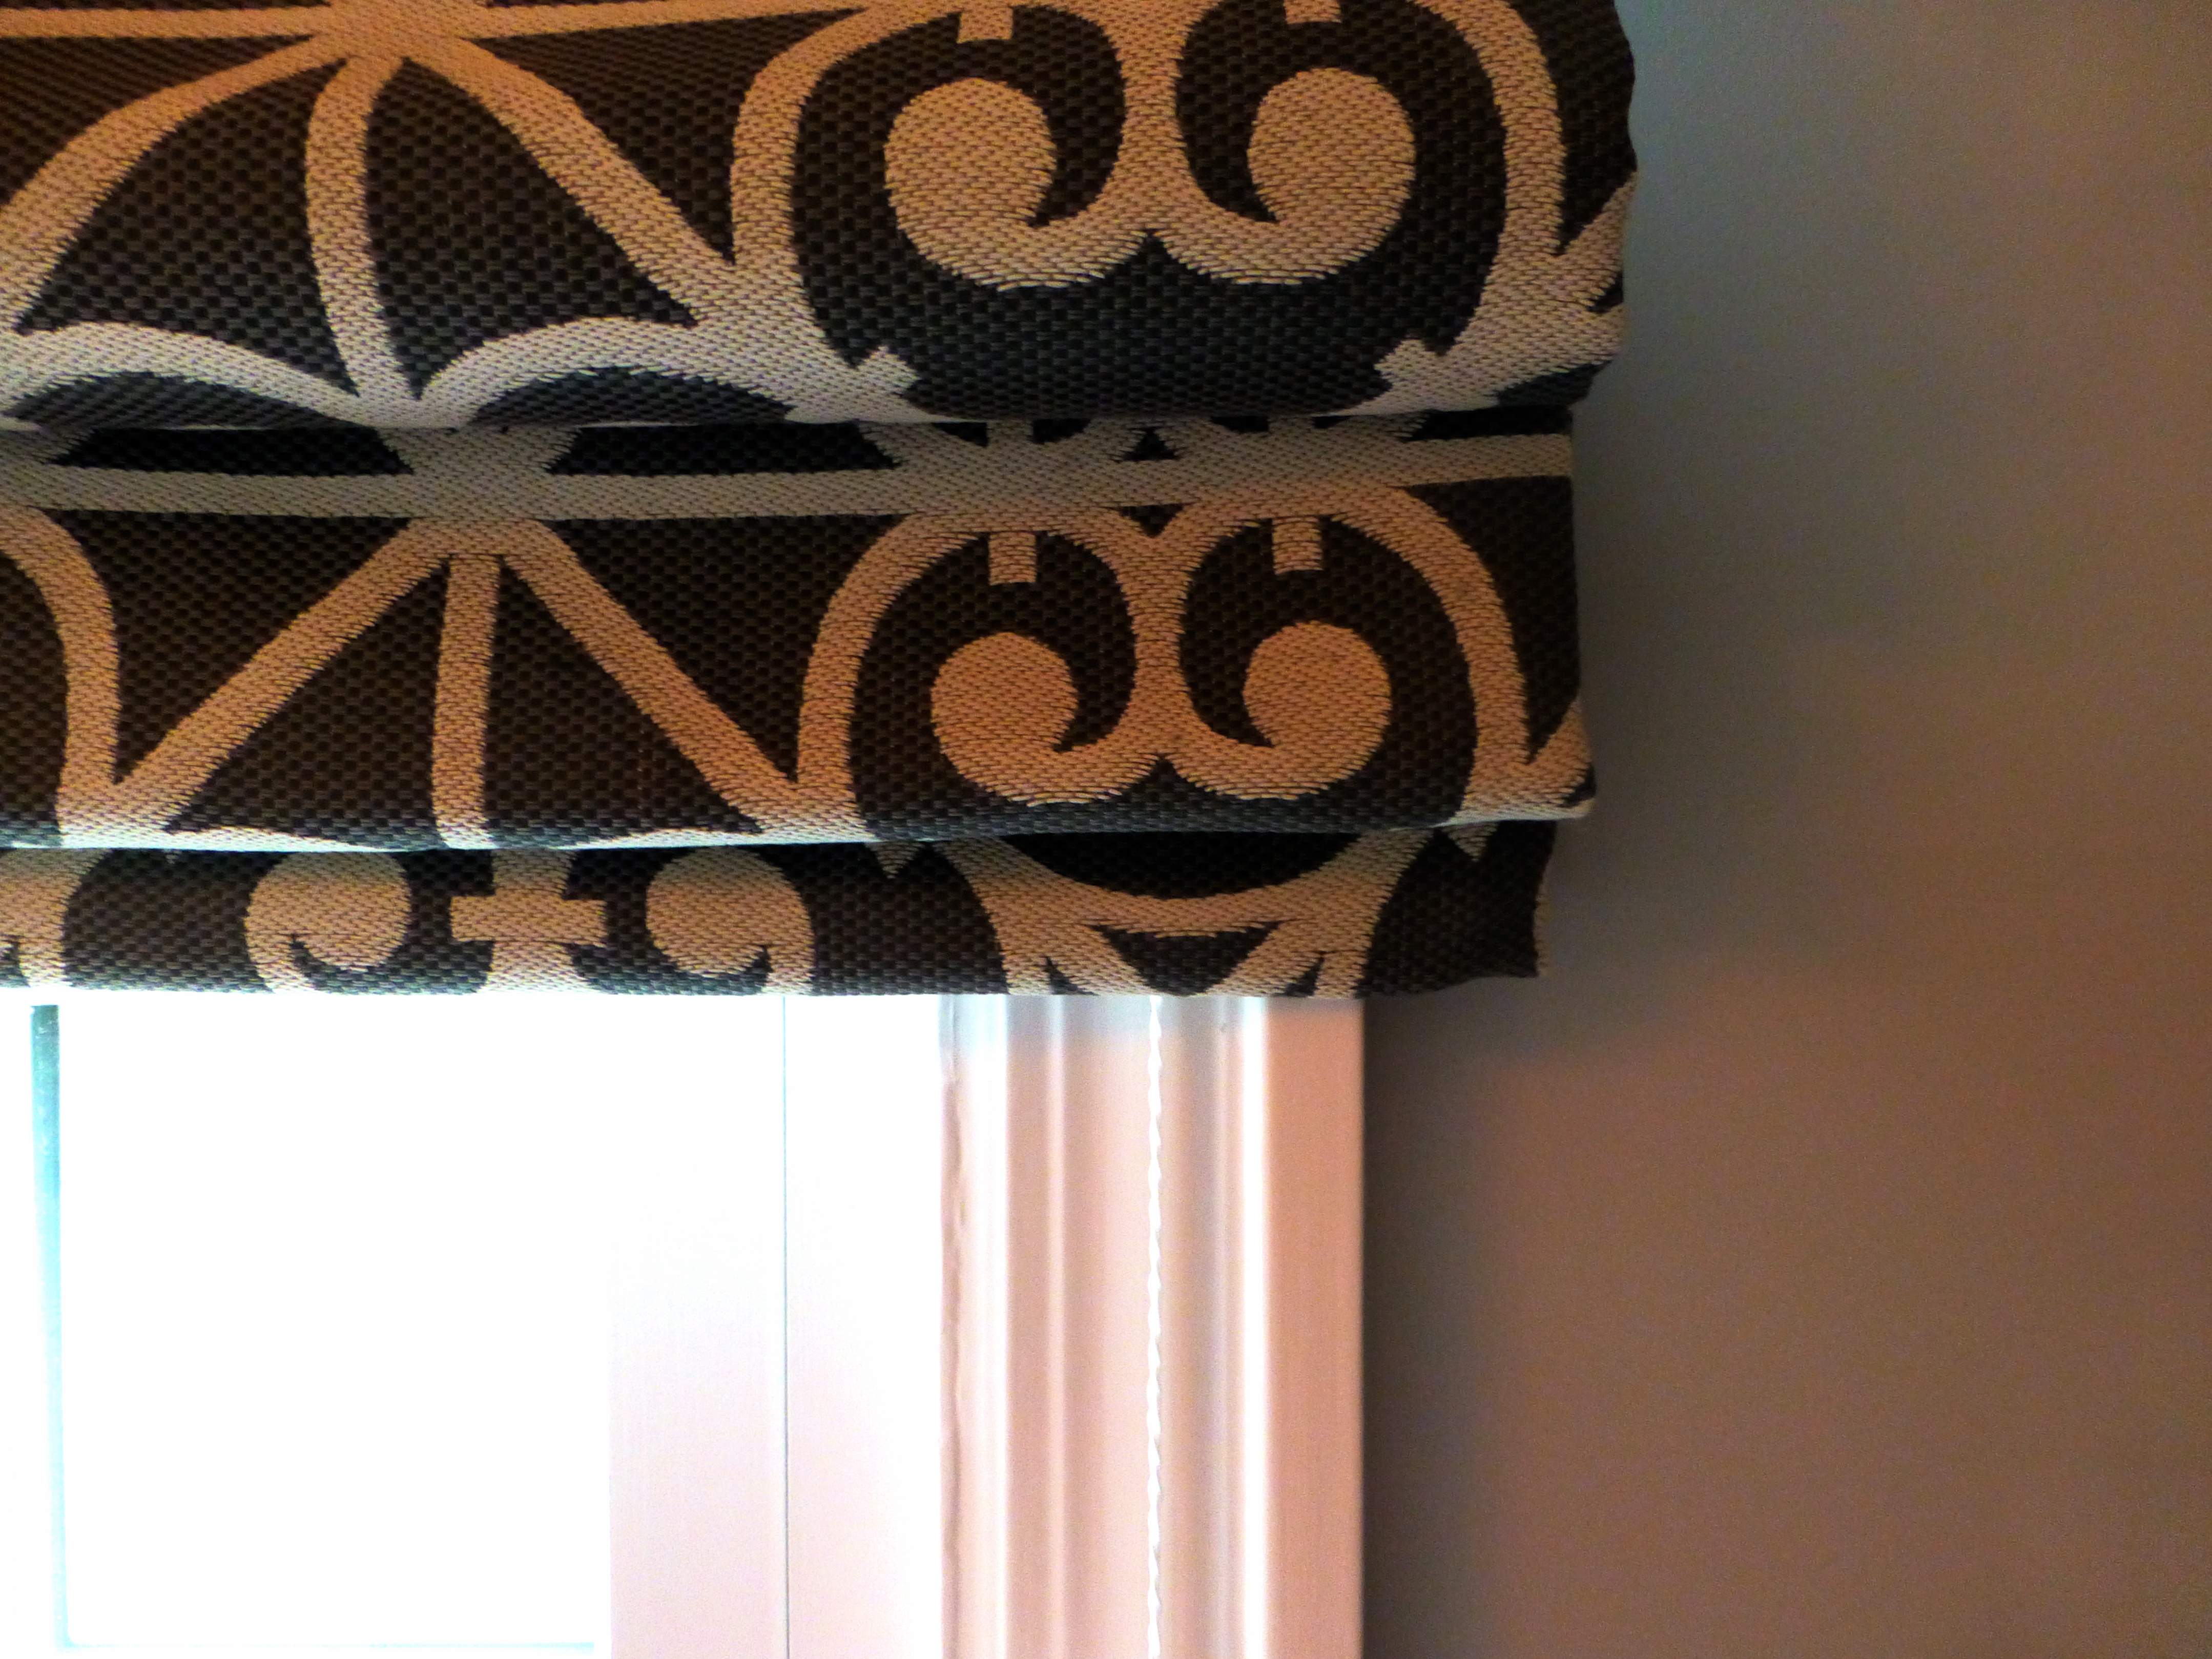
New roman shade installed. I had it made to sit outside the window frame vs. the old shade that was an interior fit. It sounds weird to do that in a small bathroom, but it actually makes the window seem bigger.


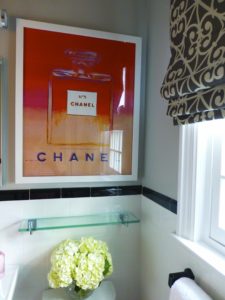
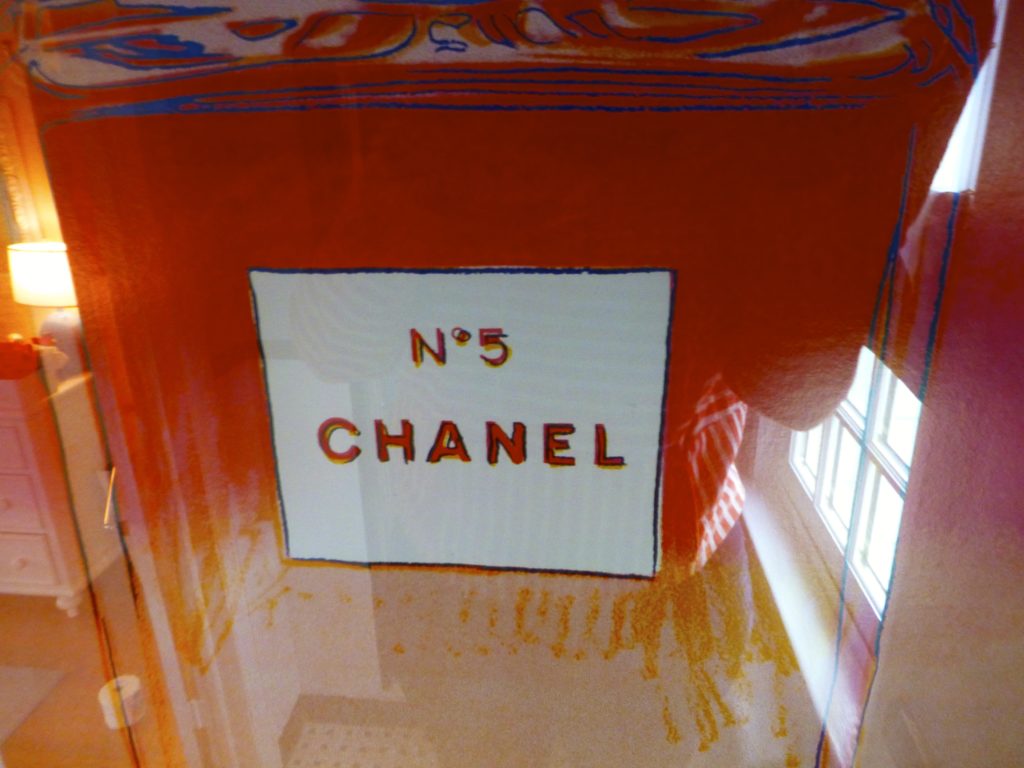
Found my “pink” artwork in a vintage poster store. Had it framed in white shiny enamel to contrast against the gray walls.
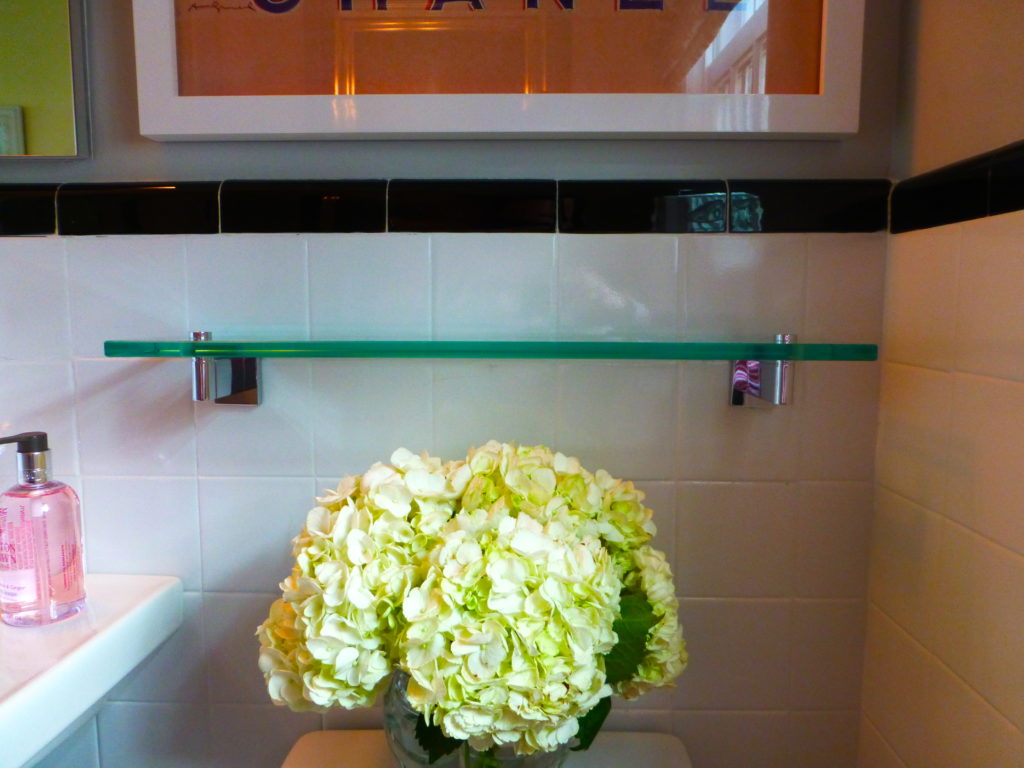
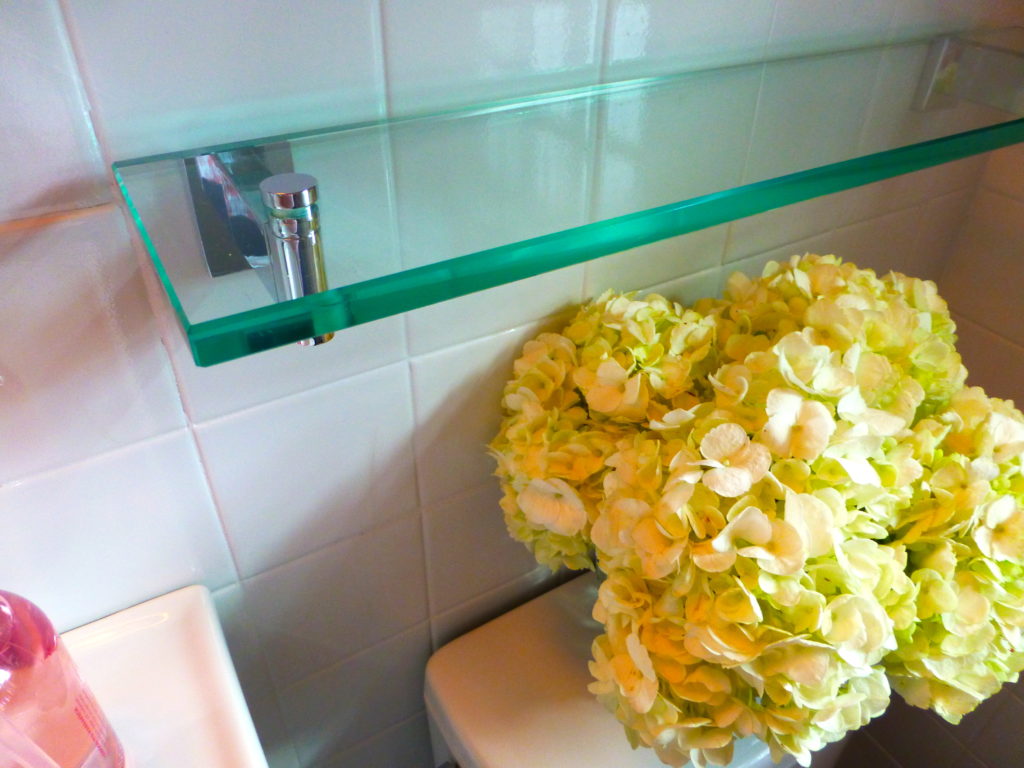
I also added a glass shelf from Restoration Hardware. Storage is limited in here, so any extra shelf space is a good thing.
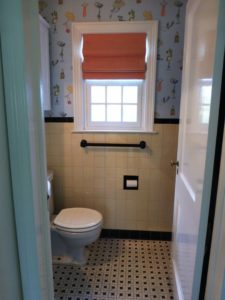
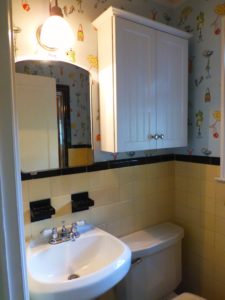
Just a reference to the past look… I am going to shut up now and just show you pictures!
Ok, I am sure you have seen enough! I am thrilled at how this bathroom turned out. My daughter loves it and it is now suitable for guests visiting. If you want to see the original post with the before photos click here.
I am taking two weeks off for Christmas and New Year’s, so I hope everyone have a WONDERFUL holiday and I will see you in 2017! xo Liz
the wry home
5 comments
Beautiful! Merry Christmas. Look forward to more before and after posts in 2017!
So very pretty! Merry Christmas and Happy New Year
Thank you Tony!
Love your great ideas, inspiring. Merry Christmas ?
Merry Christmas to you too!
Comments are closed.